> ## Documentation Index
> Fetch the complete documentation index at: https://docs.1price.co/llms.txt
> Use this file to discover all available pages before exploring further.
# Increase Prices
> Systematically increase your price on your products
The following is a guide on how to use 1Price to do price increase experiments.
### Experiment Reasoning
> Most founders drastically **underprice** their products. In most cases, you can price your product 200% higher while maintaining the same influx of customers.
By using 1Price to do price experiments, you can confidently optimize your price to a select cohort of users then analyze the results.
### Step 1: Create New Price
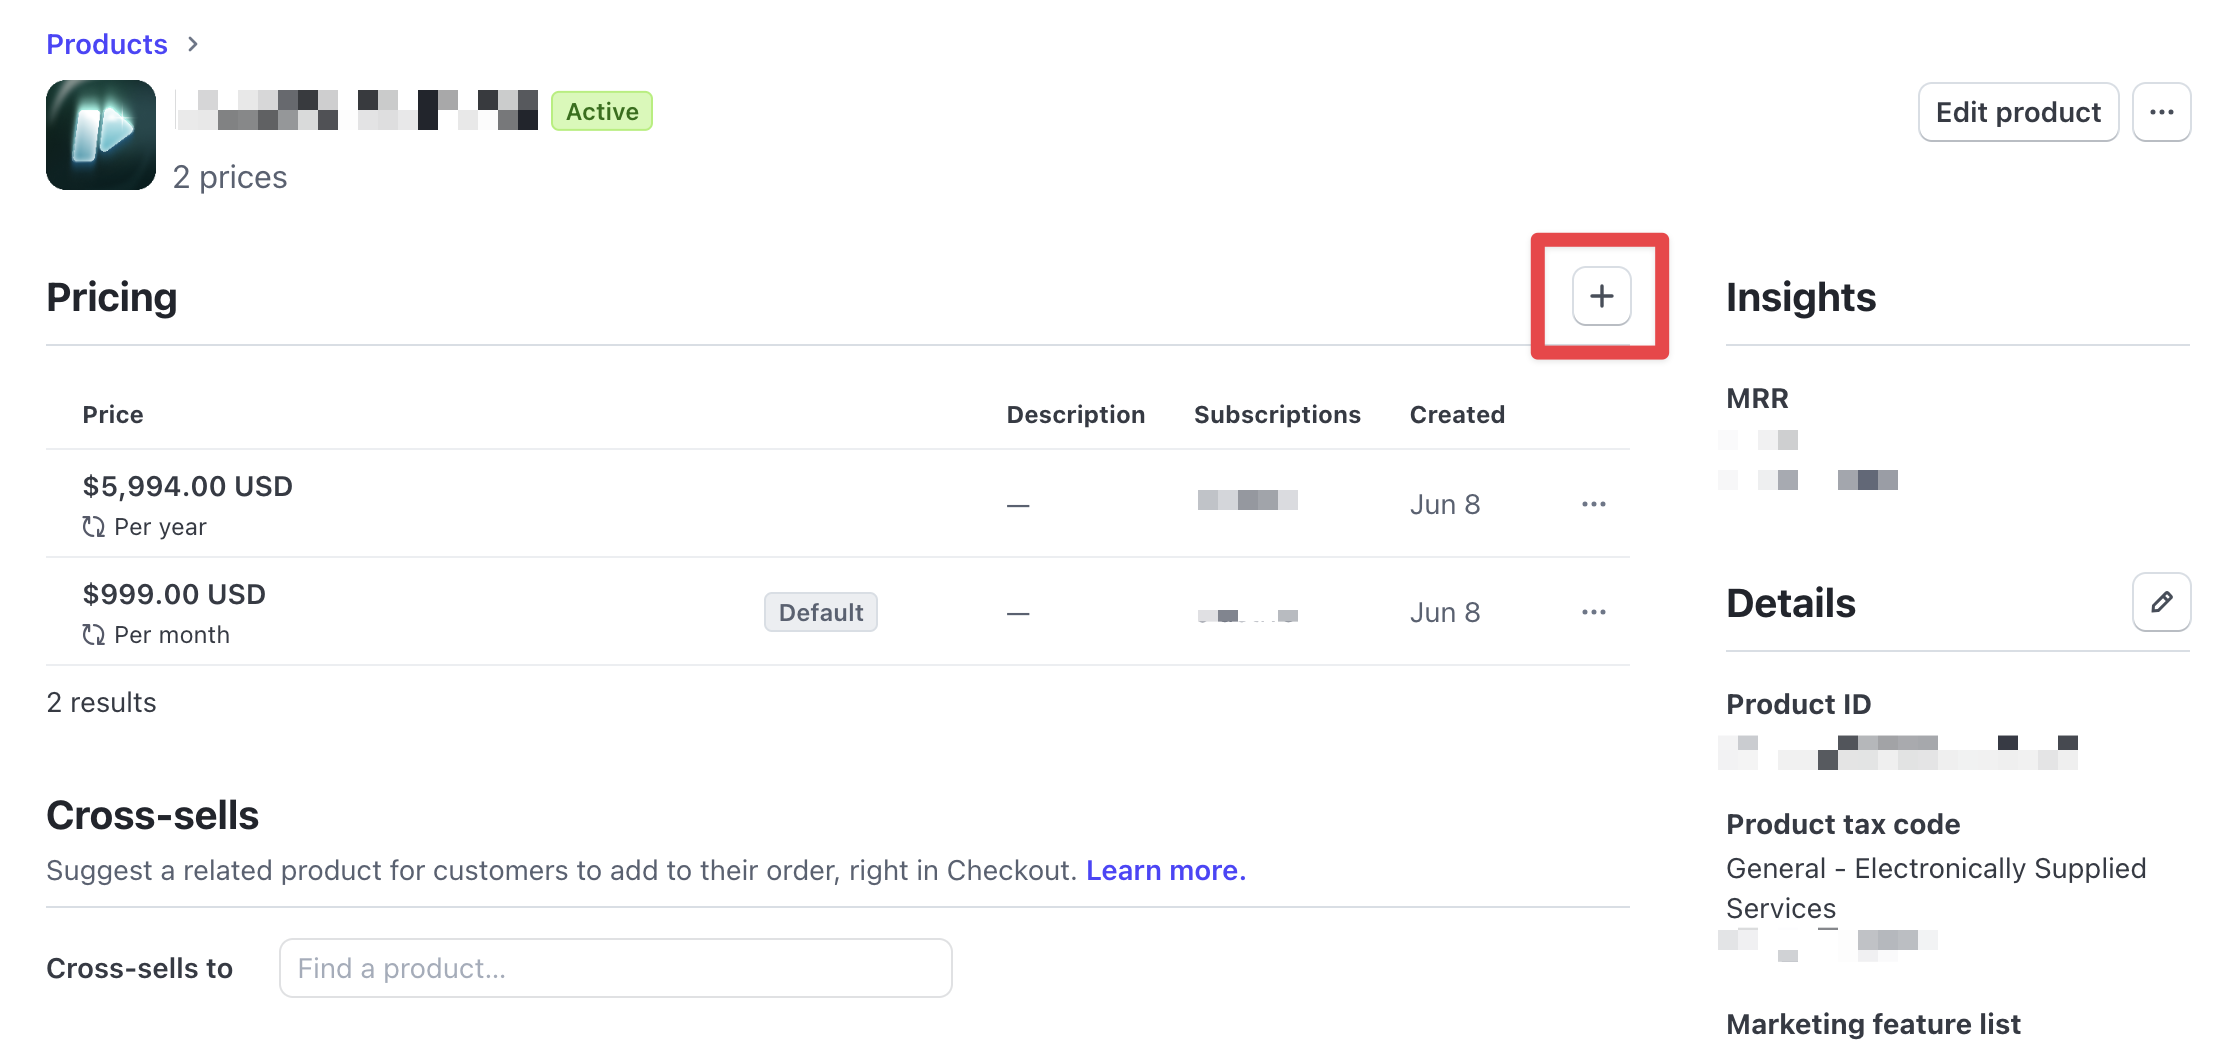
Login to your [Stripe Dashboard](https://dashboard.stripe.com/dashboard). Navigate to [Product Catalog](https://dashboard.stripe.com/products) then select the Product you want to add a new price to.
 You can currently only create a new price on Stripe Dashboard. In the near
future, you will be able to create Stripe prices on 1Price directly.
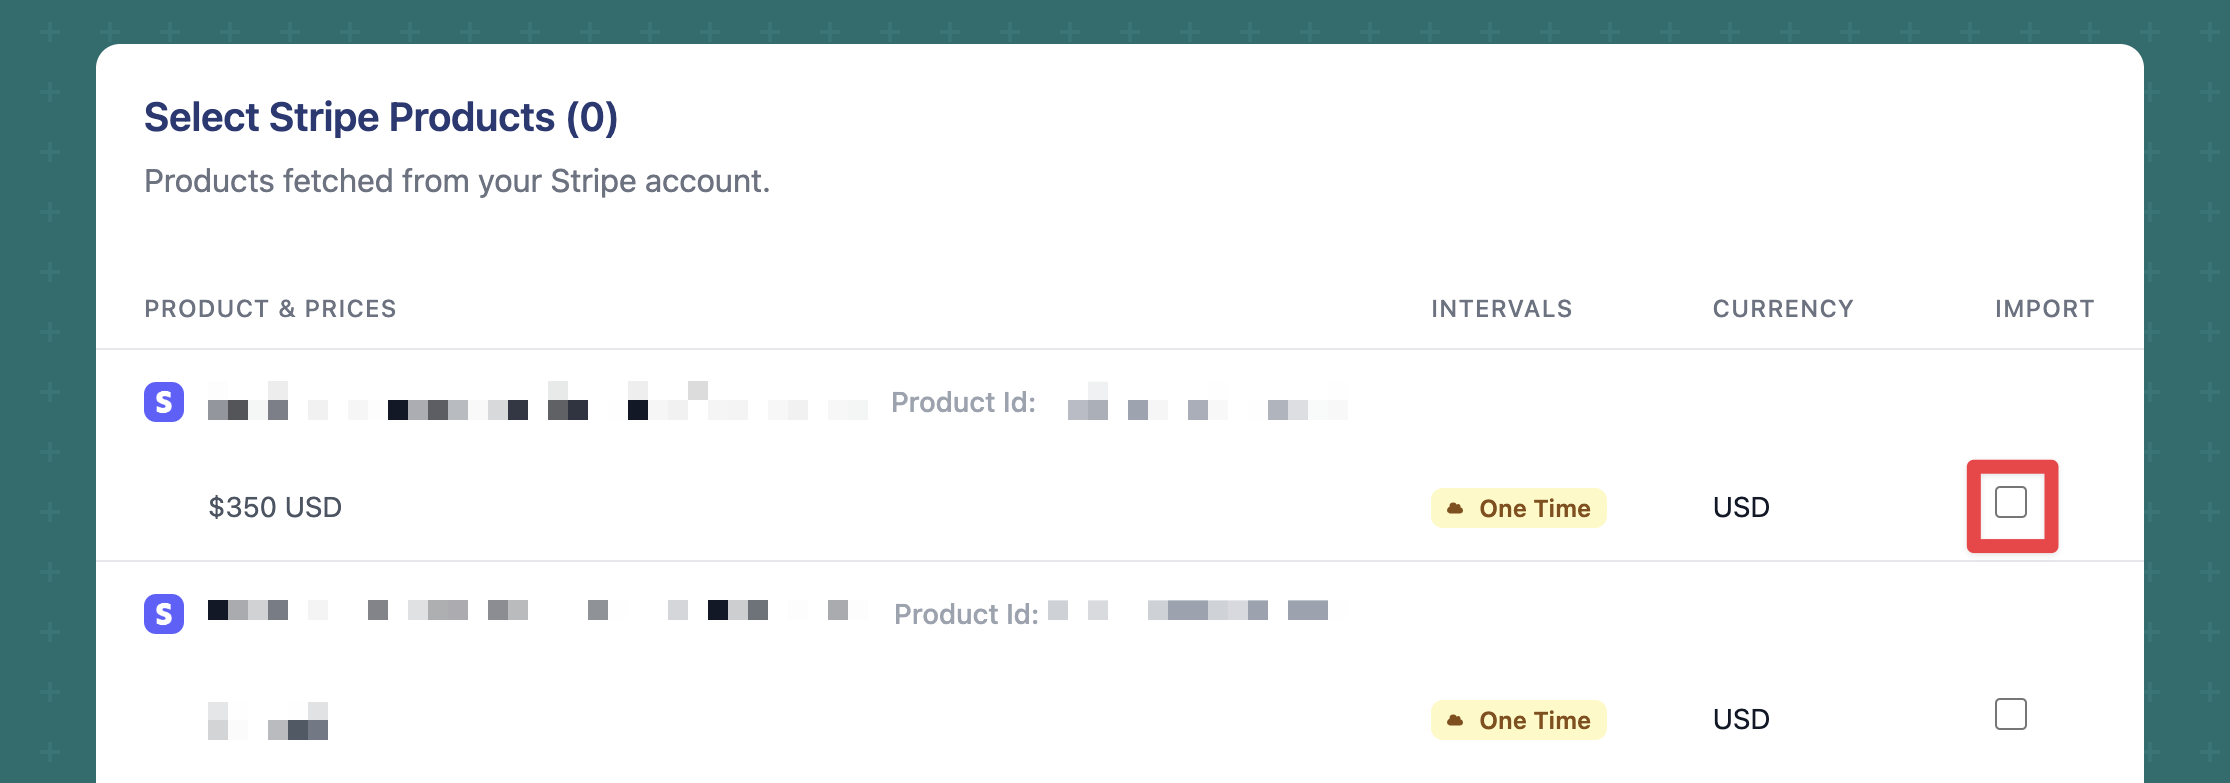
Then import the newly created price from the [Import Page](https://app.1price.co/import)
You can currently only create a new price on Stripe Dashboard. In the near
future, you will be able to create Stripe prices on 1Price directly.
Then import the newly created price from the [Import Page](https://app.1price.co/import)
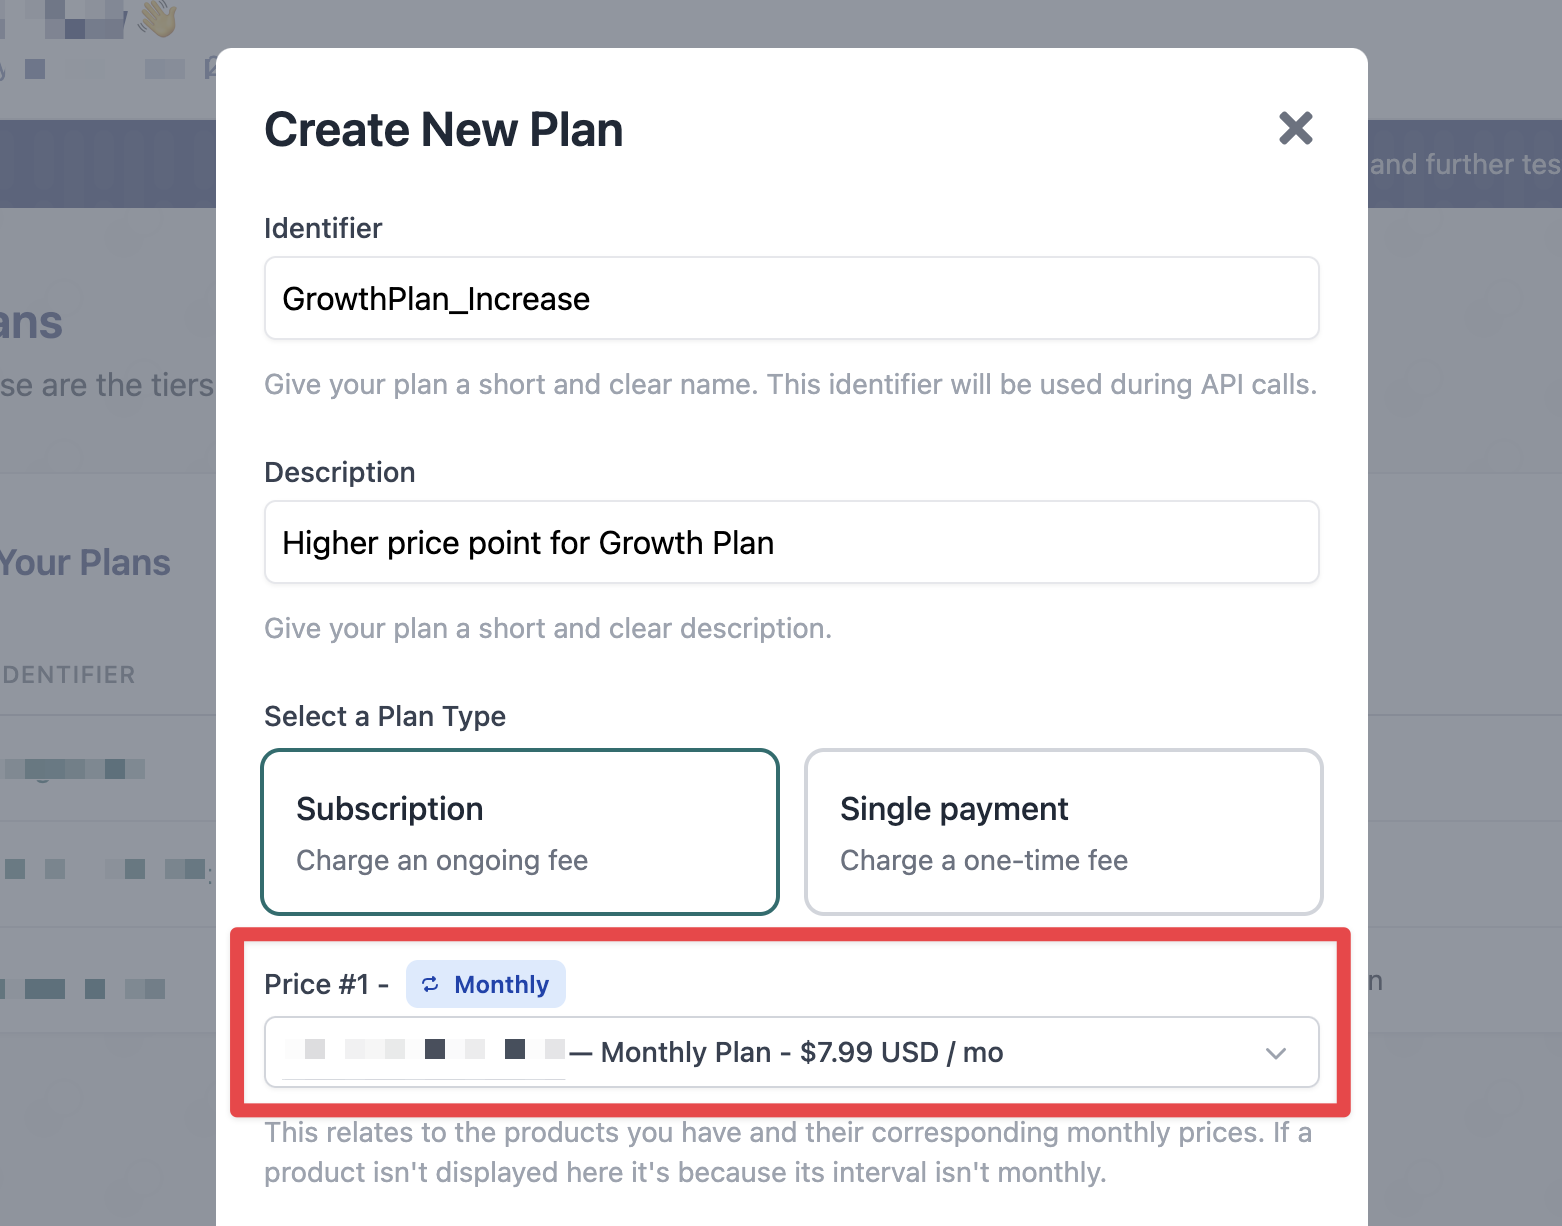
 ### Step 2: Update Plan & Offer
Build or update a [Plan](/build/plans) that links to the newly imported price.
### Step 2: Update Plan & Offer
Build or update a [Plan](/build/plans) that links to the newly imported price.
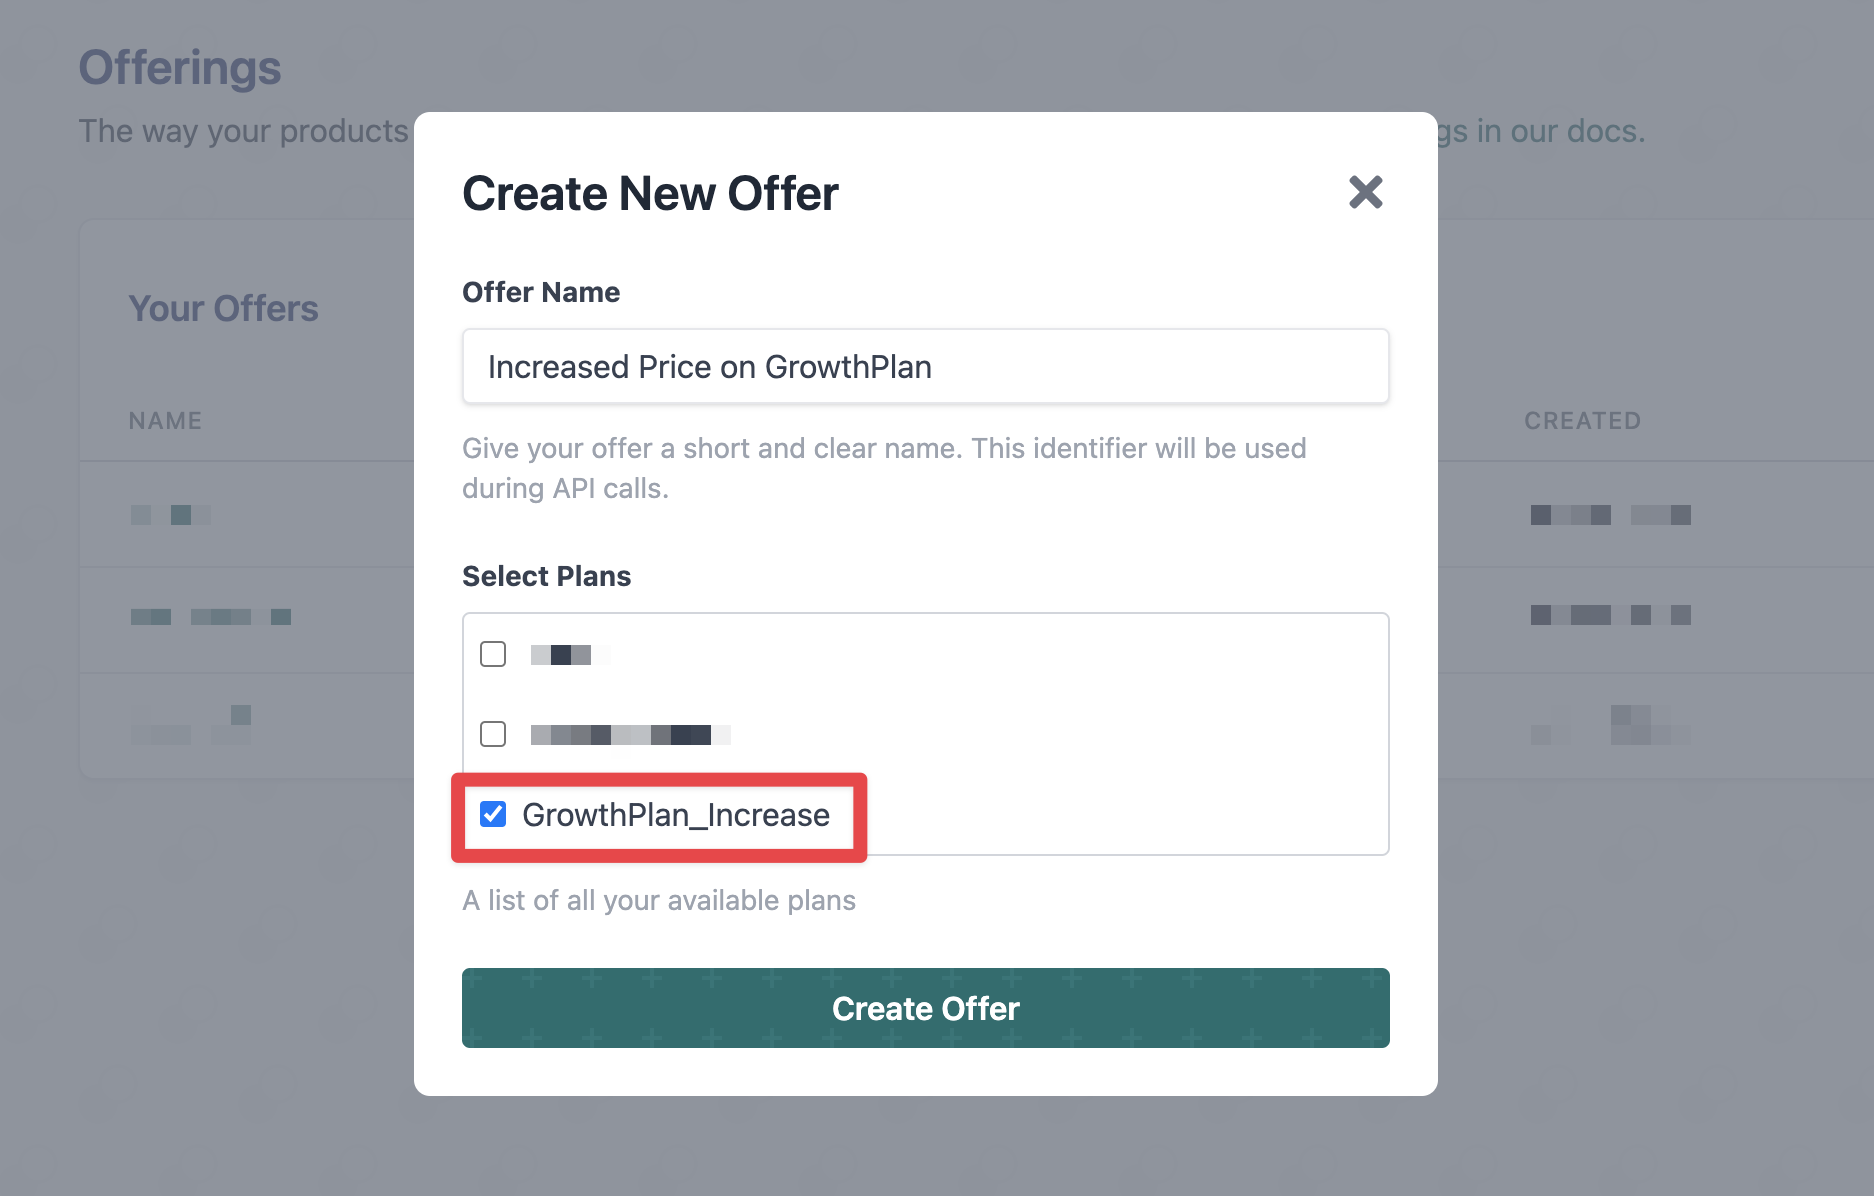
 Then, create a new [Offer](/build/offers) that includes the Plan.
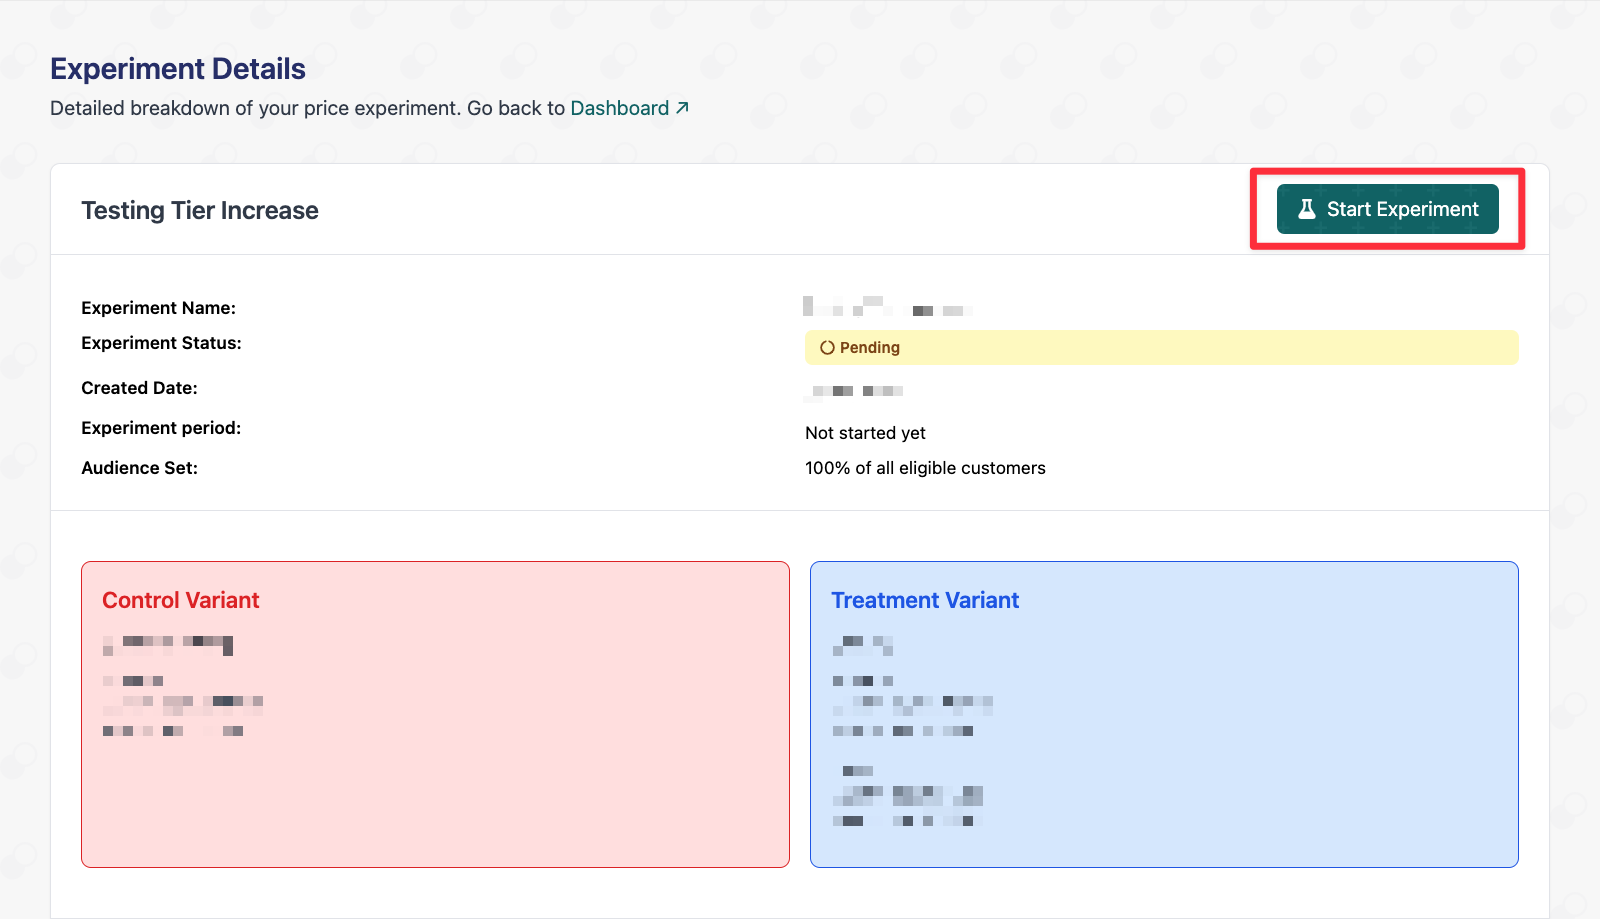
 ### Step 3: Start Experiment
Build a new [Experiment](/build/firstExp) comparing the two Offers.
### Step 3: Start Experiment
Build a new [Experiment](/build/firstExp) comparing the two Offers.
 Finally, start the experiment and see the [Results](/build/results) after 24 hours.
Ensure the [integration](/build/code) is correctly setup before analyzing the
experiment results.
**Need more help?** Contact us via live chat or [email](hello@1price.co) and
we can set up a price experiment together!
Finally, start the experiment and see the [Results](/build/results) after 24 hours.
Ensure the [integration](/build/code) is correctly setup before analyzing the
experiment results.
**Need more help?** Contact us via live chat or [email](hello@1price.co) and
we can set up a price experiment together!