> ## Documentation Index
> Fetch the complete documentation index at: https://docs.1price.co/llms.txt
> Use this file to discover all available pages before exploring further.
# Quick Start
> Start your first price experiment in 35 minutes
## Getting Started
Welcome to the 1Price documentation guide. Follow the instructions below to learn how to deploy, update and supercharge your price experiments with 1Price.
You can also watch the video below for a full breakdown.
## Video Breakdown
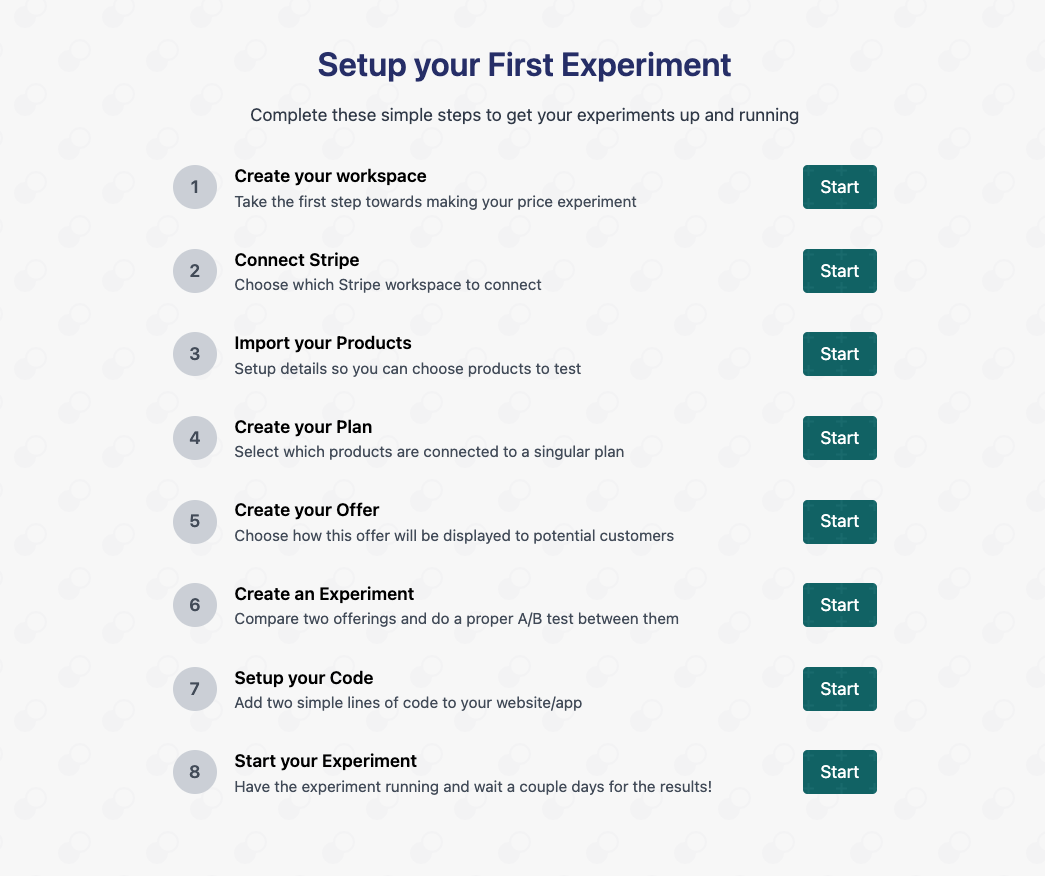
## Complete 8-Step Overview
Above are the [8-steps](https://app.1price.co/connect) required to get your first experiment running.
We also provide a complete 'done for you' integration service. Interested?
Request it [here](mailto:hello@1price.co)
## 1. Add Workspace (1 min)
Build your workspace and invite your team members.
Ensure the Website you add is a valid URLThis feature is coming soon. For now message [hello@1price.co](mailto:hello@1price.co) for early access.
## 2. Connect Stripe (1 min)
There are two methods to connecting your Stripe depending on what stage of onboarding you are in.
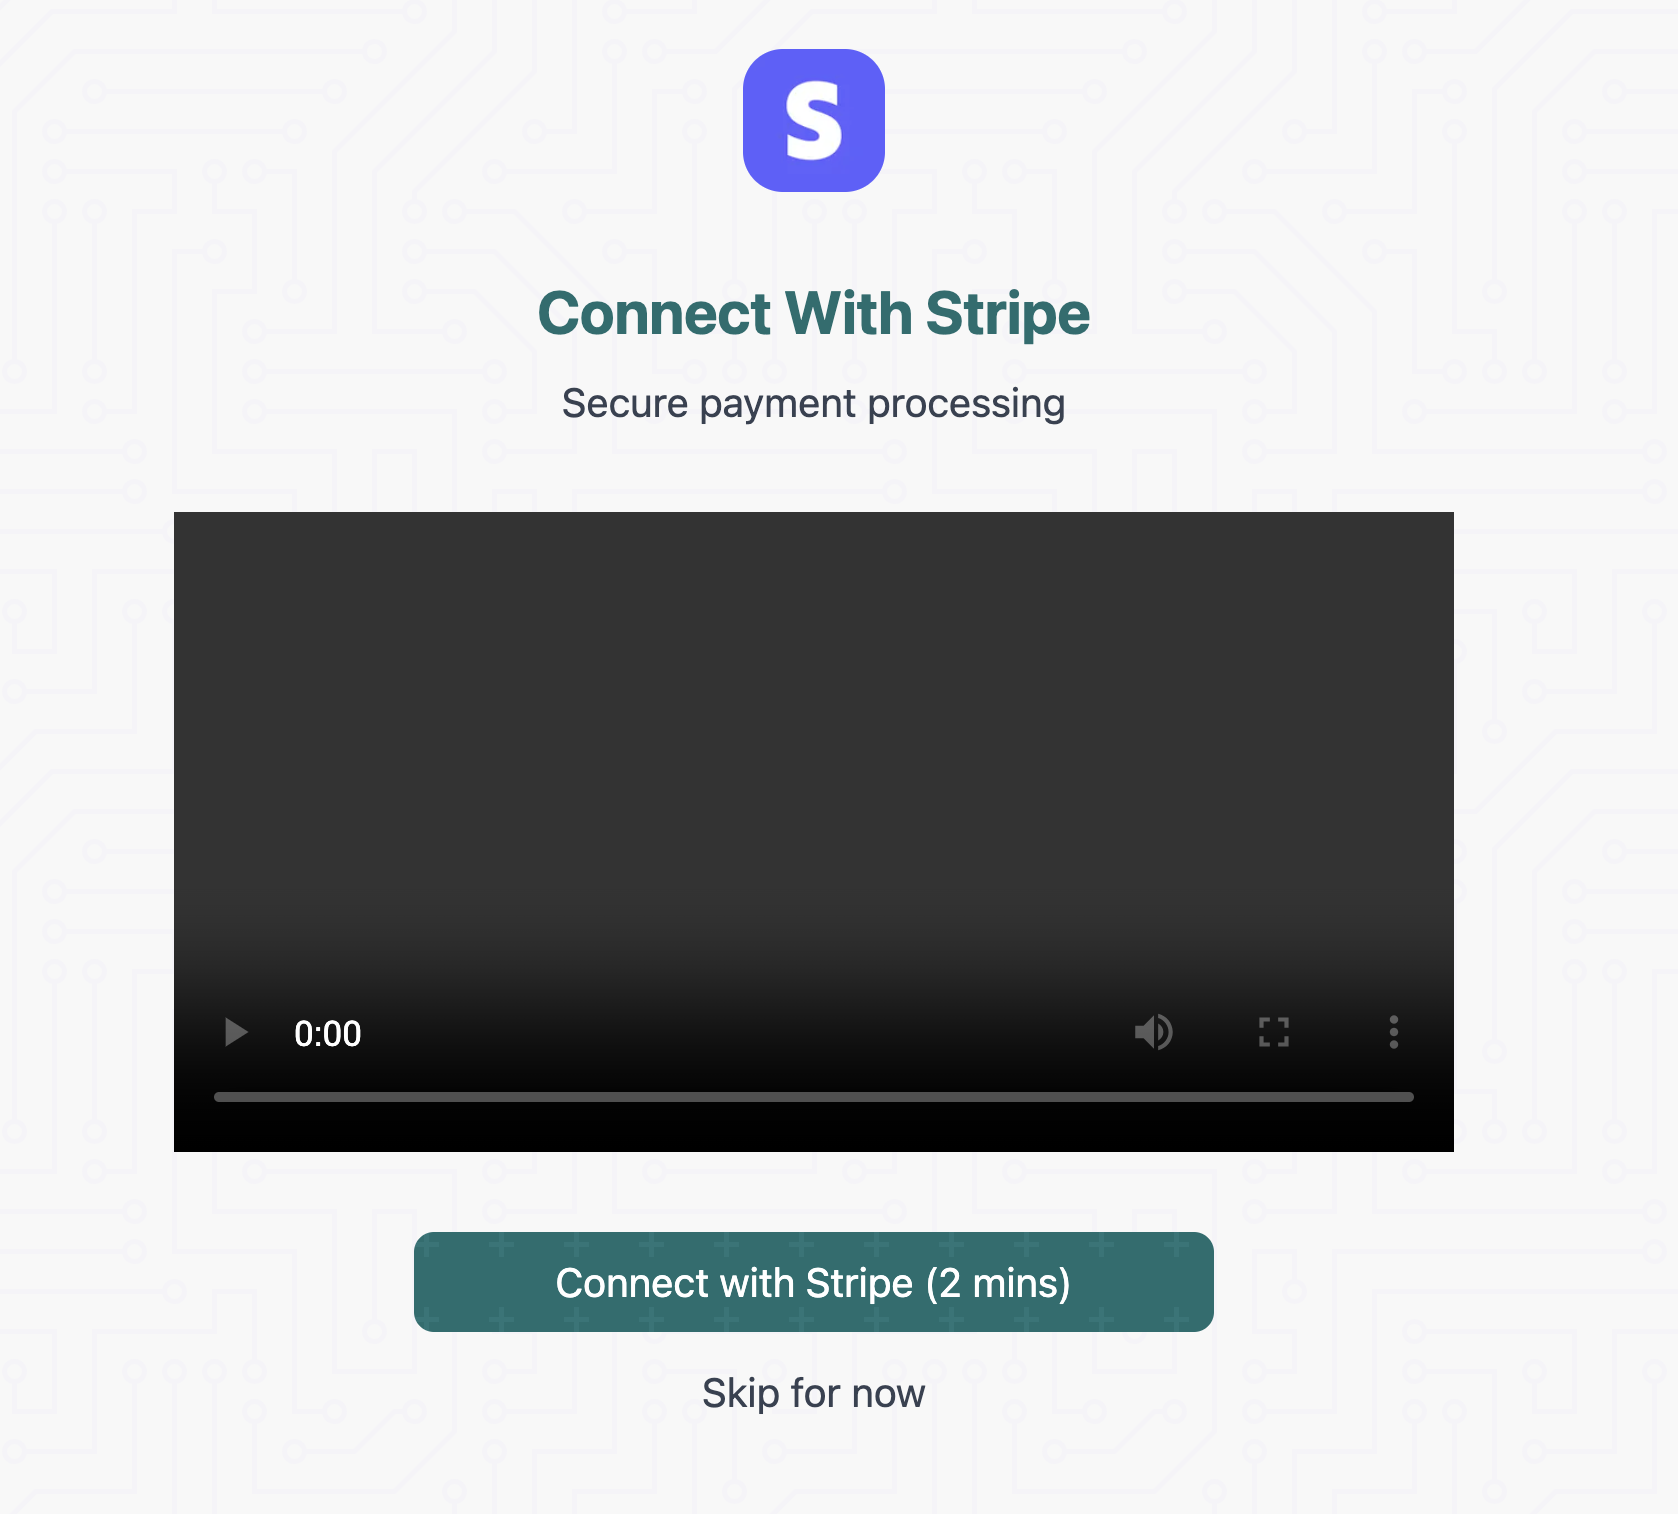
#### Option 1: During Onboarding
When creating your workspace you also have the option to connect your Stripe.
You can also skip this option, and connect your Stripe later.
{" "}
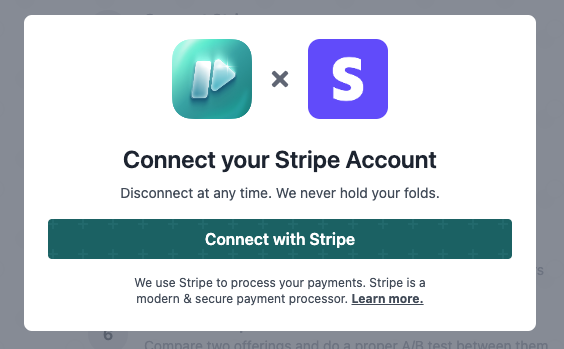
#### Option 2: Post Onboarding
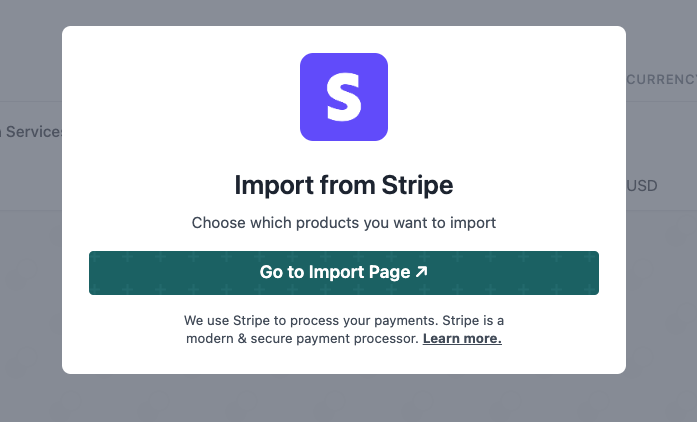
On left sidebar, you have the **'Connect Stripe'** button which opens the following modal:
{" "}
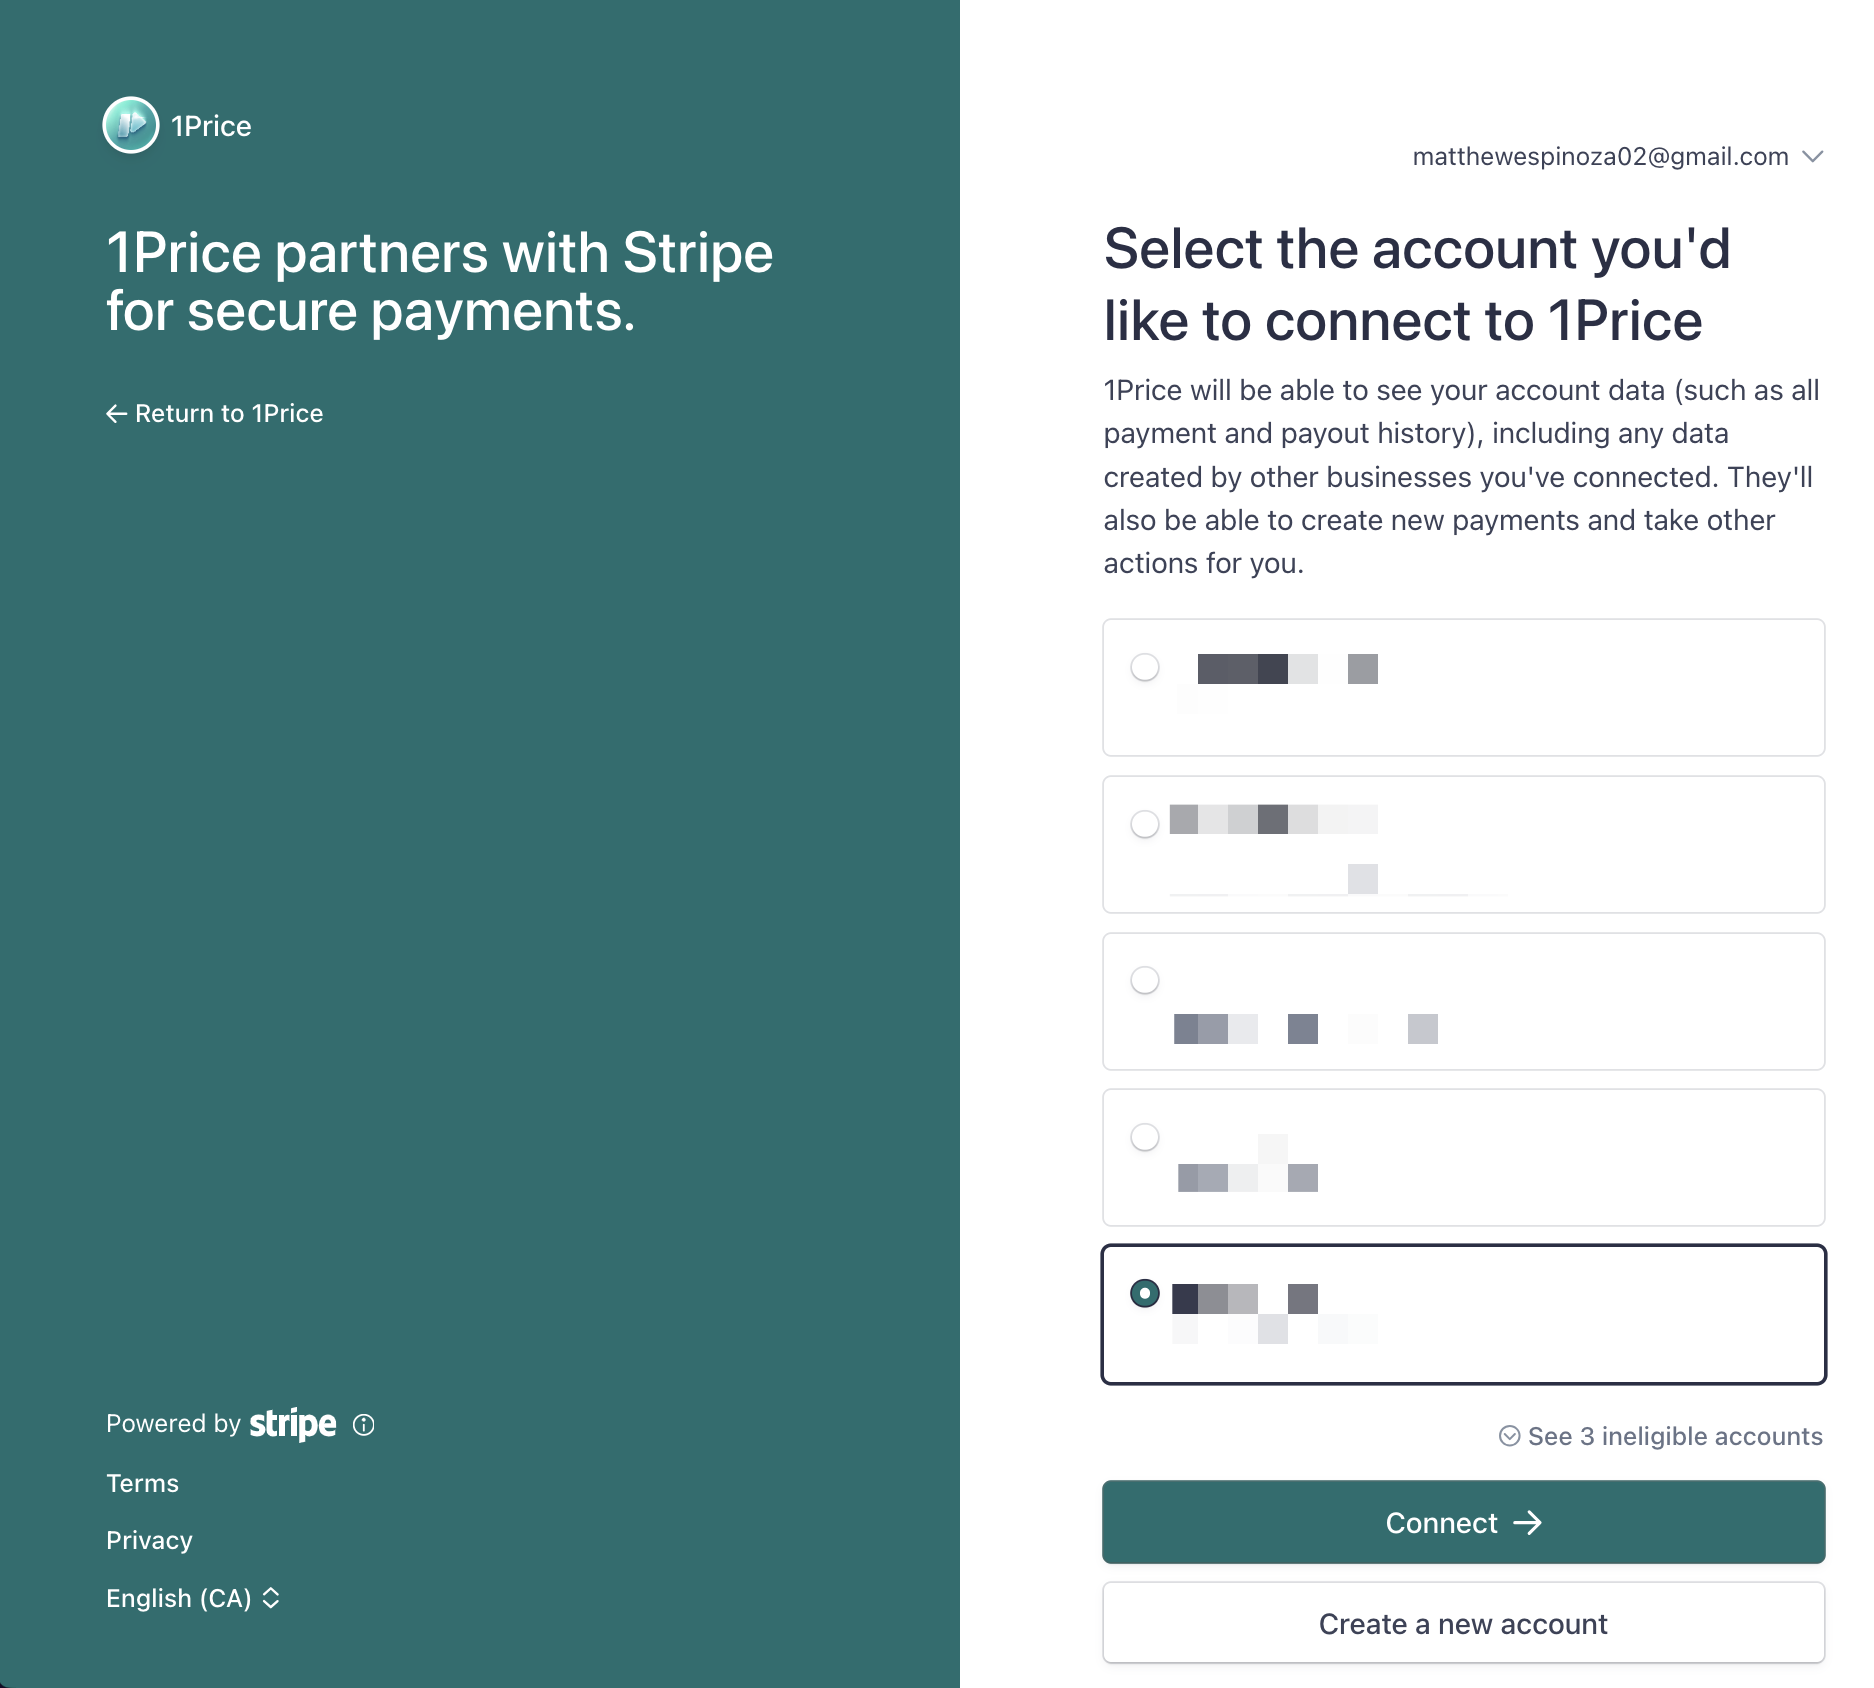
From here, you're redirected to choosing which workspace you want to connect.
#### Stripe Connect
{" "}
## 3. Import Products (1 min)
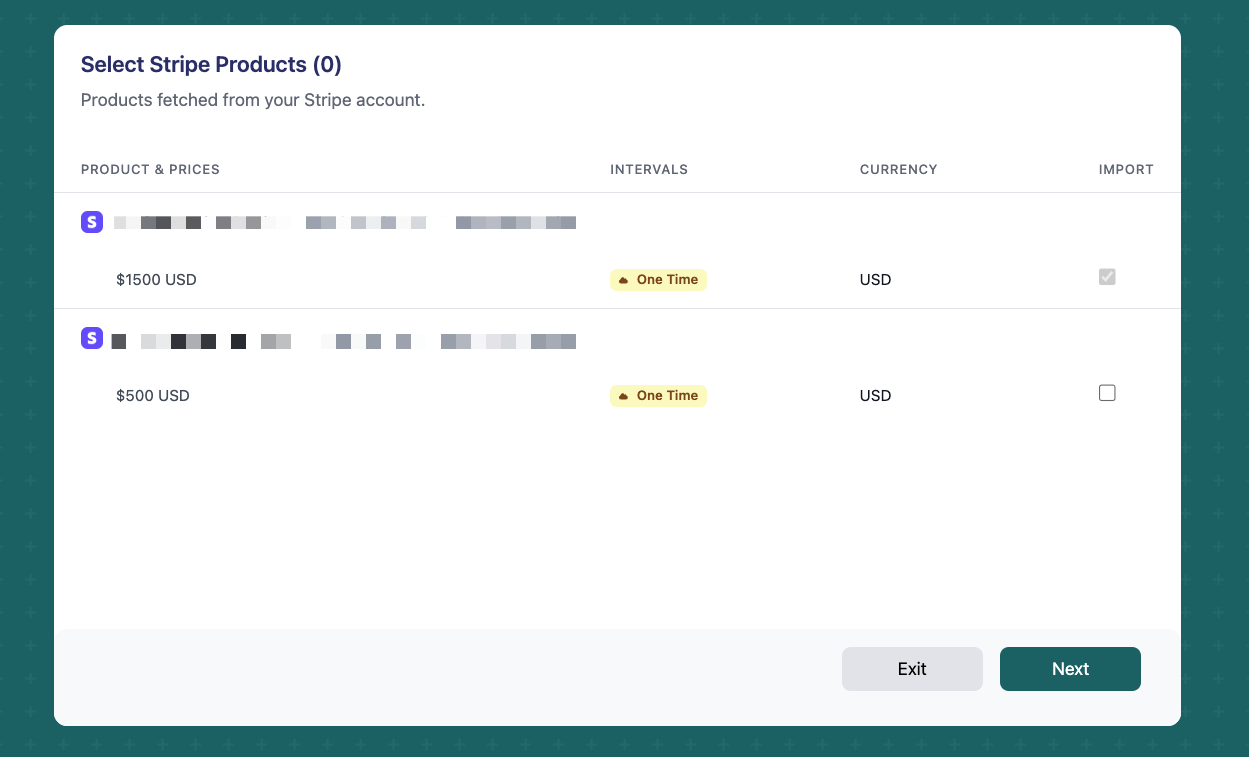
The Import button will redirect you to the [Import Page](https://app.1price.co/import) where you can select which products you want to import:
You can import products by clicking on the checkbox found on each row.
We currently support unit pricing and tiered pricingOnly select the product you want to experiment with.
{" "}
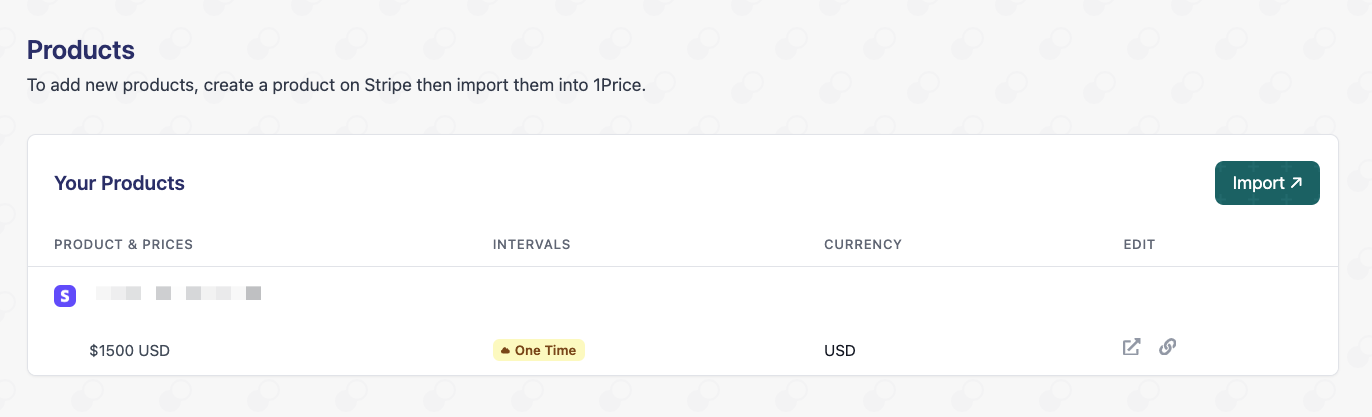
Customization of Products is optional. **Not required for setup**.
This is what a typical Product dashboard will look like (alongside each of their prices):
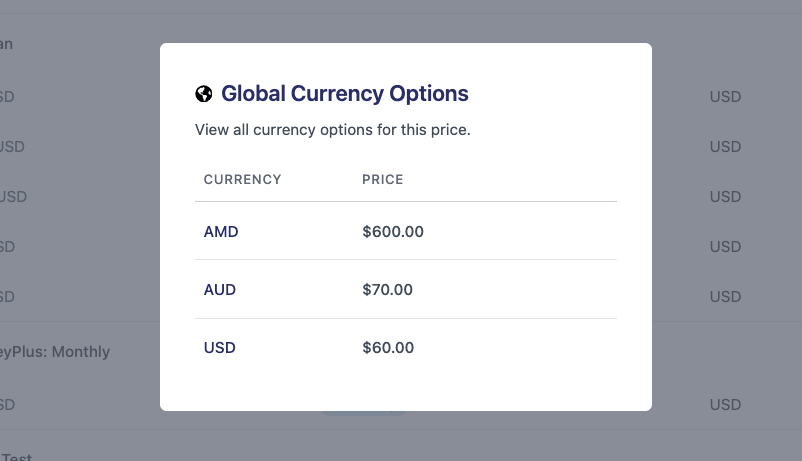
### Multiple Currencies
If your product has multiple currencies, they will be found in the Currency column:
### Edit on Stripe
Per price you have an option to edit directly on Stripe
### Add Unique Checkout Link
Per price you also have the option to include a unique checkout link.
## 4. Create Your Plan (1 min)
These are the "tiers" you have on your pricing page
## 5. Create Your Offers (2 min)
The way your products are "offered" to a Customer on your paywall.
## 6. Create Your Experiment (3 min)
The basis of comparing two offers
## 7. Setup Your Code (5 min)
{" "}
Integrate code into your application
## 8. Start Your Experiment (1 min)
Reading the results of the experiments
### All Done!
Congrats! You’ve set up your 1Price experiment and it’s looking amazing! Need support or want to give some feedback? You can join our [community](https://join.slack.com/t/get1price/shared_invite/zt-2u9didf6q-VBcsmPSsbZlcMX46HeigeA) or drop us an email at [hello@1price.co](mainto:hello@1price.co).

 Above are the [8-steps](https://app.1price.co/connect) required to get your first experiment running.
 #### Option 2: Post Onboarding
On left sidebar, you have the **'Connect Stripe'** button which opens the following modal:
{" "}
#### Option 2: Post Onboarding
On left sidebar, you have the **'Connect Stripe'** button which opens the following modal:
{" "}
 From here, you're redirected to choosing which workspace you want to connect.
#### Stripe Connect
{" "}
From here, you're redirected to choosing which workspace you want to connect.
#### Stripe Connect
{" "}
 The Import button will redirect you to the [Import Page](https://app.1price.co/import) where you can select which products you want to import:
 You can import products by clicking on the checkbox found on each row.
 ### Multiple Currencies
If your product has multiple currencies, they will be found in the Currency column:
### Multiple Currencies
If your product has multiple currencies, they will be found in the Currency column:
 ### Edit on Stripe
Per price you have an option to edit directly on Stripe
### Edit on Stripe
Per price you have an option to edit directly on Stripe
 ### Add Unique Checkout Link
Per price you also have the option to include a unique checkout link.
### Add Unique Checkout Link
Per price you also have the option to include a unique checkout link.
